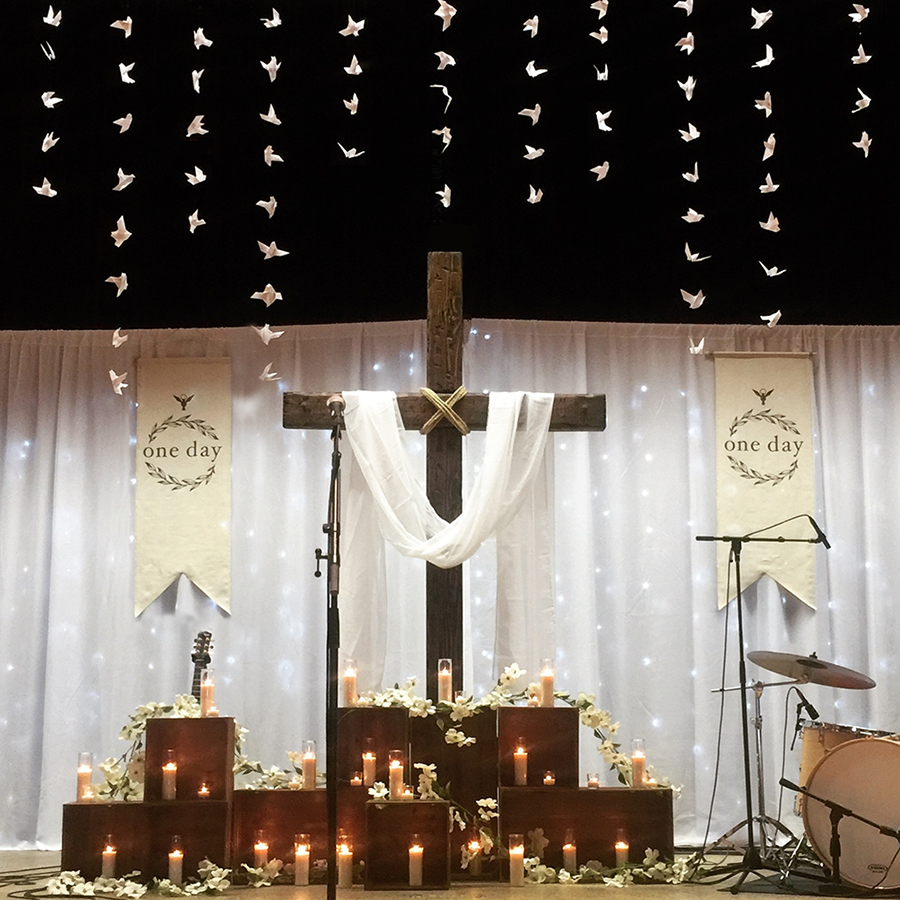
A few weeks ago I hinted at my latest personal project – creating a visual experience for Storyline Fellowship's Easter series! No pressure, right?
Some steps were an absolute joy, while others proved to be quite a challenge. I thought I'd share my behind-the-scene crazy woman workings so you can learn a new craft while gaining some inside tips for designing large physical spaces – whether it's for your home, church, wedding, shower, and any other party or event.


Plan
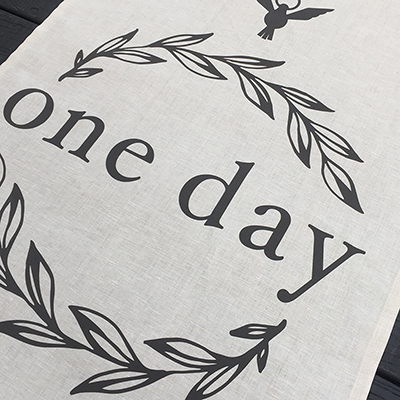
The best place to start is to create a mood board – a collection of images which serves as a "visual story" for communicating the overall idea, as well as the materials you plan on using. Pinterest is a fantastic starting point for image gathering. The theme of our Easter series was called "One Day," so my goal was to reflect the story of the Resurrection through colors and symbolism as shown on my mood board below.

Gather
I've learned from experience that it's best to gather your resources by shopping online as much as possible. It's easier to buy items in bulk and saves an enormous amount of time and energy. Take advantage of Amazon Prime for free shipping (totally worth it!) and shop from wholesale websites that offer discount prices. One of my favorite sites is Save-On-Crafts.
Engage
Enlist help! This is a difficult step for Type A personalities like myself, but I've found it to be incredibly helpful and rewarding to involve others. There are several people who deserve shout-outs for their amazing contributions to this project.
Leslie Fox is my go-to girl. She always offers encouragement and keeps me motivated along the way. Not only did she spend a hands-on evening helping me string doves, but introduced me to Steve, the guy with mad carpentry skills.
Steve Engel generously crafted the cross that served as our focal point. He made it from brand new posts and beat it for an authentic, rugged aesthetic.
My hubs, Ed Coyle overcame great heights (pun intended) by hanging my origami dove curtain from the death defying stage rafters. Thanks honey!
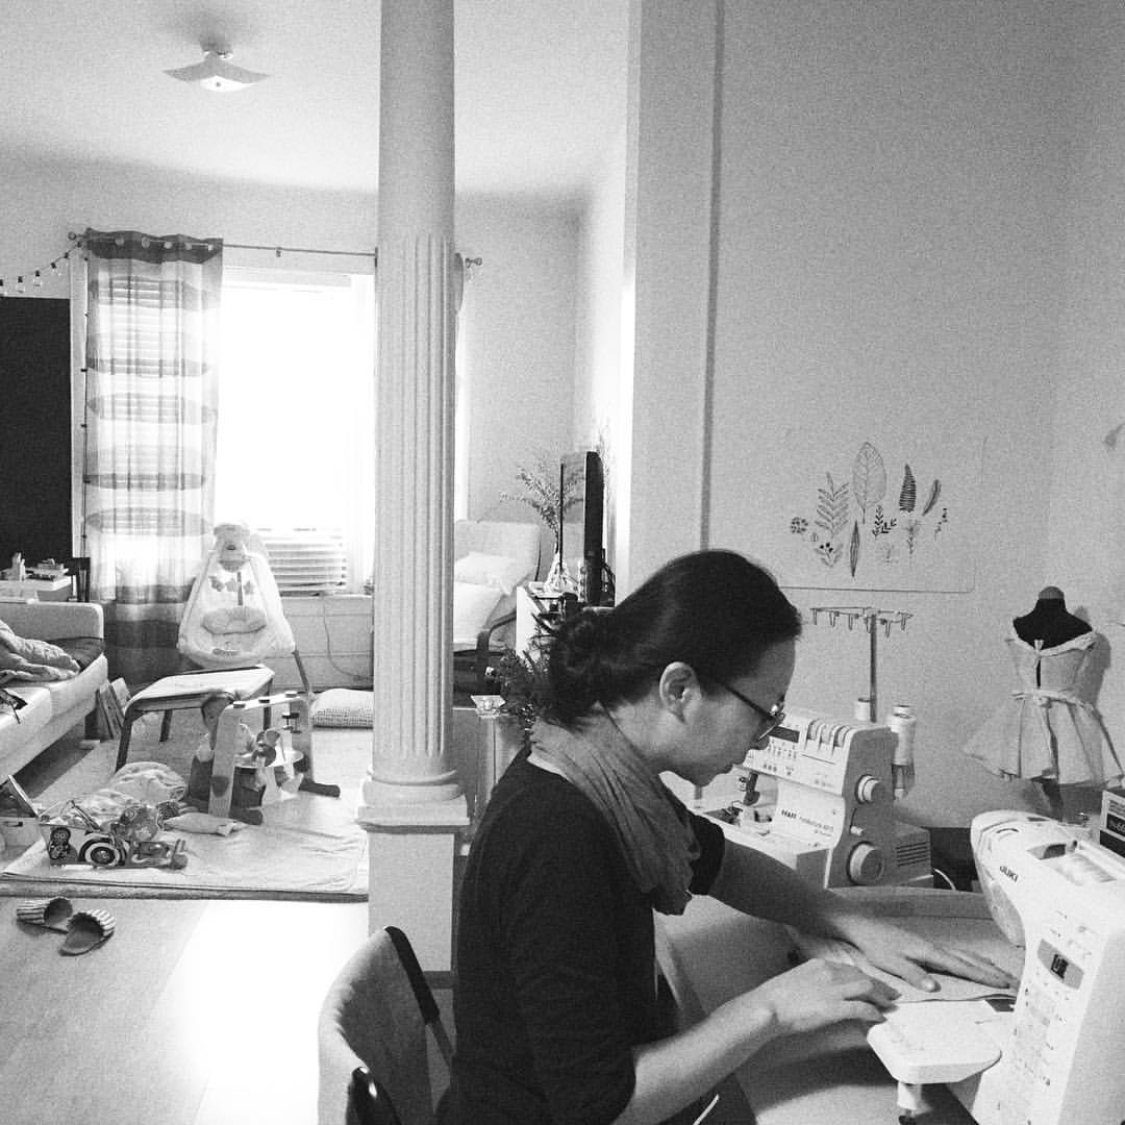
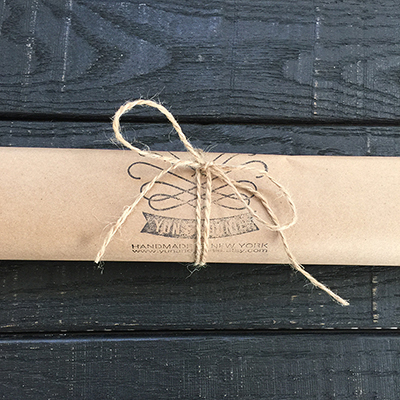
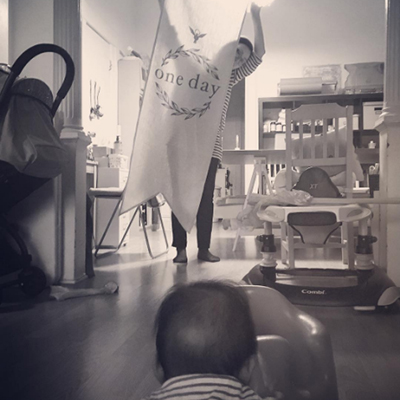
I love being able to support other creative-types and was overjoyed to run across Yun & Yoonie, on Etsy – another great online resource. I fell in love with Yoonie's custom linen projects and contracted her to create our "One Day" banners. The craftsmanship and quality of her work is impeccable. Look at these Instagram pics of this sweet new Mom from Brooklyn in the process of making the banners for me!
Create
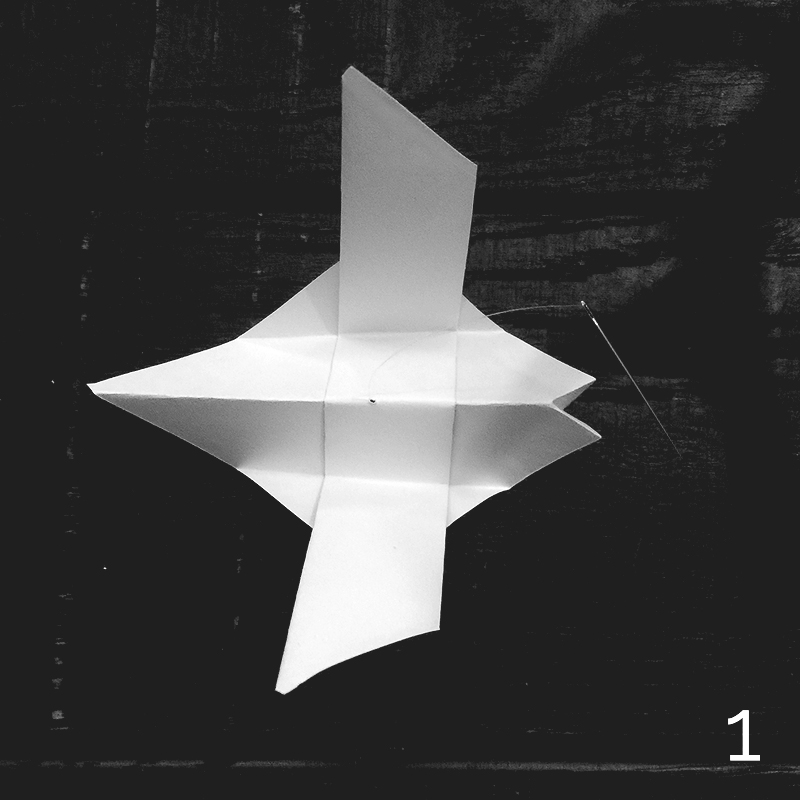
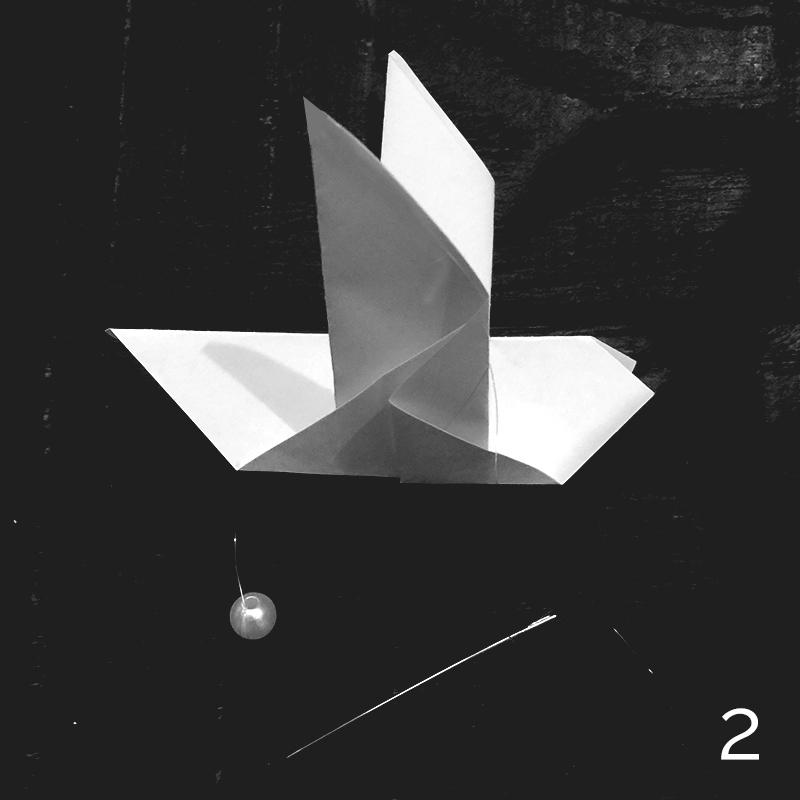
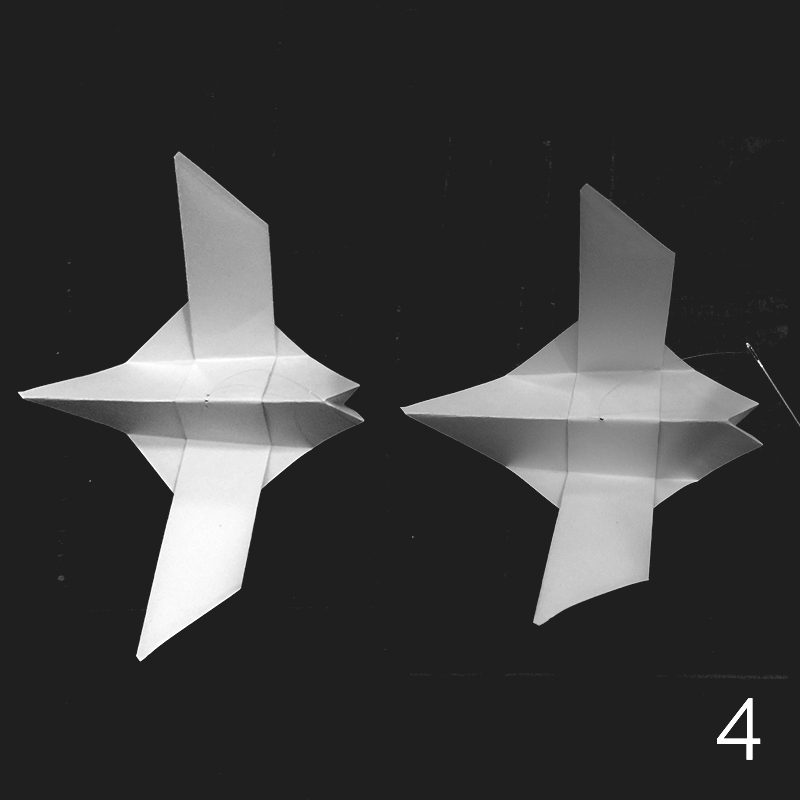
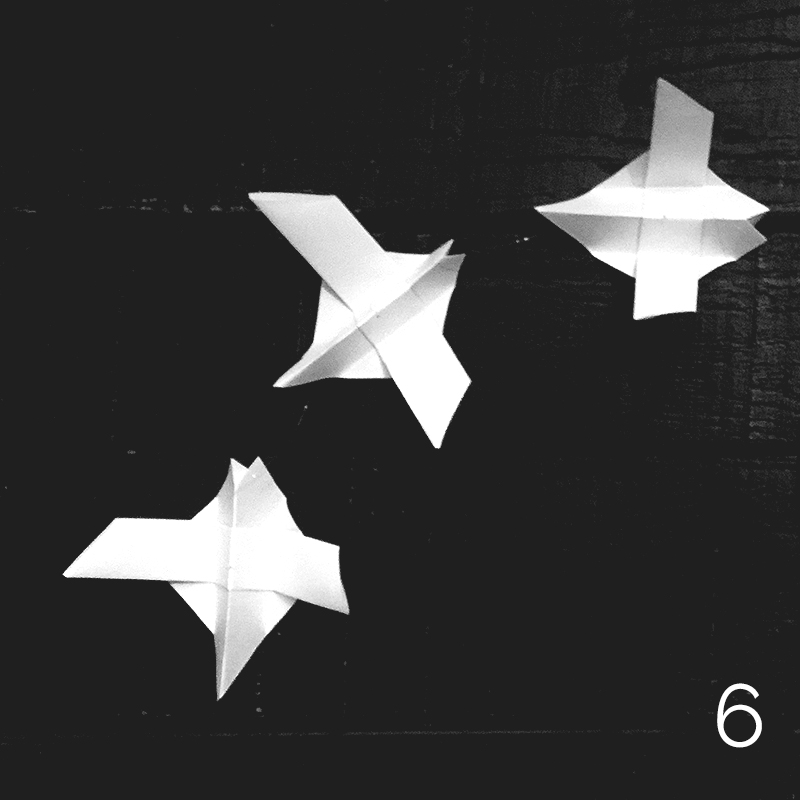
I love being hands-on so I took on the bird challenge (I mean the origami dove curtain). The thought of making 500 doves seemed daunting, yet it turns out that making the doves was actually the easy part. It took me roughly 2 minutes per dove. Here's how you do it:


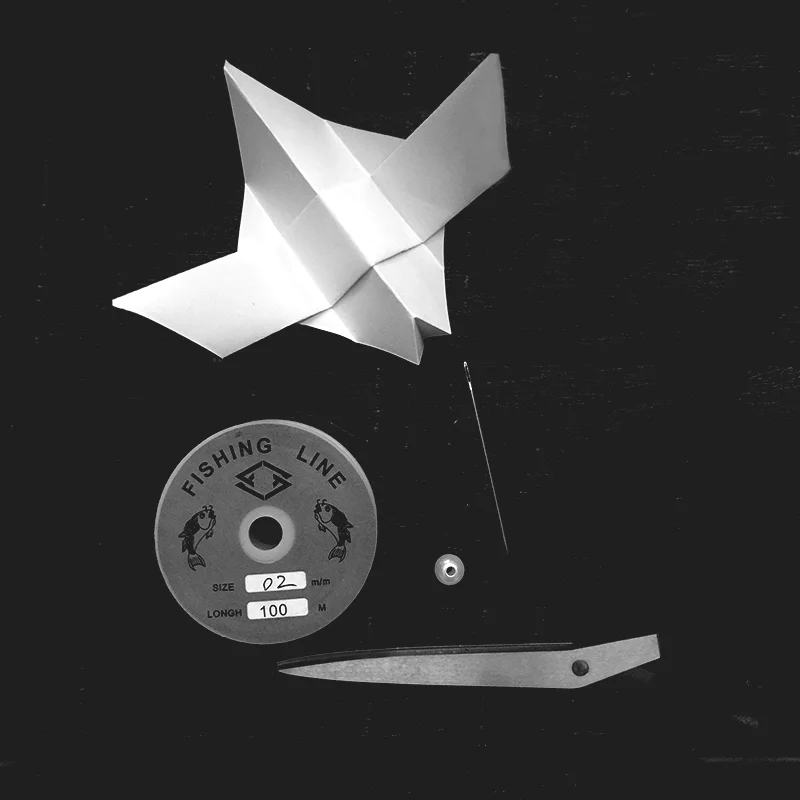
Stringing the doves is slightly more challenging, especially if your strands are each 20 FEET LONG! You'll need thin, clear string (I used fishing line), scissors, a large needle, beads (to serve as a bottom weight) and lots and lots of birds! 1) Begin by cutting a single strand of string and tying the bead to one end. Thread the other end of the string through the needle and pull it straight up through the bottom of the bird. 2) Keep pulling the string all the way through until the bead hits the bottom of the dove. 3) Loop the needle and string through the top of the dove (across the original hole) to secure the bird in place. 4) Position the next dove to the string by pulling the needle up through the bottom of the second bird. 5) Repeat Step 3 by looping the needle and string across the top of the second bird to ensure that it stays in place. 6) Continue to equally space out the doves until you reach the other end of the string.


The most difficult part of the entire process was figuring out how to store and transport the strands without getting them completely tangled. There's very little advice out there for getting these things from point A to point B so I wanted to share a couple of ideas that saved the day for me! If your strands are (unlike mine) a rational size in length, you can use wooden dowels from your local craft store to individually hang each strand as shown below. For longer curtains, I recommend winding each strand around cardboard and securing the beginning and end with small clips. This method will ensure that the strands don't become a tangled mess during transport. (Thank goodness we kept most of our small moving boxes!)


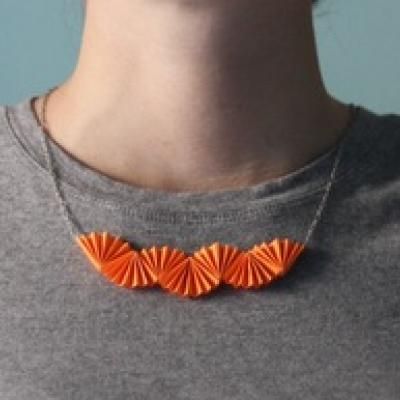
There's lots of ways you can adapt this project for your very own. Here's a few of my favorite ideas floating around out there on Pinterest – nursery mobile, place setting, photo backdrop, wall or window decor, table top centerpiece, ornament, and even jewelry! Have fun, huckleberries!