Basement Before + After

One of my biggest wishes for our new home in Colorado was a large, casual space for the whole family to spread out and enjoy some down time together – a luxury we didn't have in our last small, urban house in Atlanta. After moving into our new home with an unfinished basement, I knew we had to take the plunge and finish it right away or it would become one of those projects we just never got around to.

This is what our basement looked like in the beginning: 

The first thing I did was pull together a visual story of what I had in mind for colors, textures, surfaces, and ideas for how to use the space, and then hired Dan Thoemke of Neighborhood Rehab Project to help us achieve the basement of our dreams. Having something visual to share with your builder is such a helpful way to communicate and to get the ball rolling. It's also very important to work with someone who not only understands your vision, but knows how to source the right supplies, and offer solid advice along the way.   

I knew I wanted the following: 
Gray color scheme
Space for a theater
Wider opening and finished look for the staircase
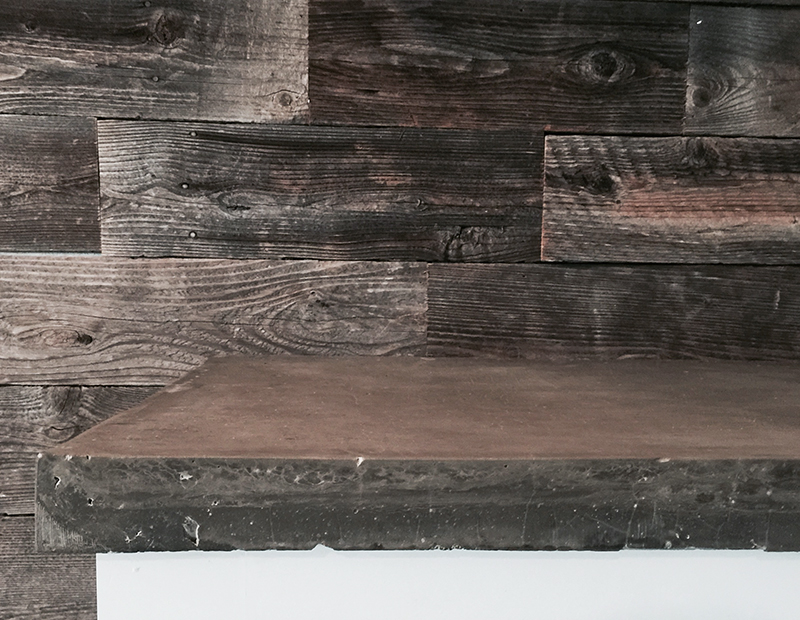
Rustic reclaimed wood accents
Dry bar with concrete countertop and open shelving
Tech space and sitting area  

Here is my visual story for the basement:

Along the way, I started narrowing down specific colors for the paint and carpet. Because grays can sometimes appear too cold and on the blue side, I decided to go with a warmer greige tone and used Sherwin Williams Mindful Gray and Gauntlet Gray for the dark accent wall. I chose Tesla Granite, a speckled gray and brown carpet to compliment the reclaimed wood and gray walls  – and perfect for hiding signs of pets and boys.

Here is the basement about mid-way through:

I'm completely obsessed with the design style of Joanna Gaines from the show Fixer Upper and longed for an excuse to incorporate her famous concrete countertop for the dry bar. You know you're working with someone fabulous when they agree to set up shop in your garage to create the perfect concrete countertop by hand.

Below are pictures of my finished basement where we've already spent countless hours of quality time. I hope this will encourage you to forge ahead and turn that unfinished space in your own home into something special! 

Chalk Painted Piano Tutorial

This piano has been in my family since before I was born. Over the years I've developed an enormous amount of sentimental attachment to it. Just looking at it brings back childhood memories of my oldest brother banging out Silver Bells and Here Comes Santa Claus during Christmas holidays. Even though this piano apparently weighs more than an elephant, it has moved to 5 different homes with me. Before my last cross-country move from Georgia to Colorado, I begrudgingly tried to sell it. Then I tried to give it away. Believe me when I say that NO ONE wants a piano over a hundred years old. Secretly relieved, I moved it with me yet again. 

As much as I love this old out of tune clunker, it looked dark and heavy where it was strugglingly plopped directly inside the entryway of my new home. I agonized with how I was going to make it work, especially since it's the very first thing visitors see when they walk through the door. Overnight, it seemed that painted pianos were popping up all over Pinterest and I actually lost sleep trying to decide to paint or not to paint.

Well, I am a project person. Eventually Chalk Paint won my inner battle and I've never been happier with the results! Before tackling such a huge piece, I decided to experiment with several other smaller pieces that I would have otherwise kept in storage or discarded. Little by little, by confidence grew and now I have the piano of my dreams. If you're contemplating painting your piano, I'm here to tell you to GO FOR IT!

Here's what my piano looked like before:

I used Annie Sloan Chalk Paint in Old White that I bought at a dreamy little store in Evergreen, Colorado called Sisters & Company.

The process was surprisingly easy, especially since there is no prep work with chalk paint. There's no need to sand or prime, so all I did to prepare was wipe the piano down with a damp cloth to remove any old dust and grime, and covered the keys and foot pedals with painters tape. 

Then I simply started painting the entire surface using an Annie Sloan medium-sized pure bristle brush and let dry completely for about 20 minutes. Here's what it looked like after the first coat.  

I ended up applying two coats of chalk paint. And I chose to let the original stained wood show through on some of the details and used sandpaper to lightly distress the edges to add dimension and preserve its aged appearance.

For me, the hardest part was practicing patience and letting the paint cure for 24 hours before applying Annie Sloan Clear Soft Wax in small strokes with an Annie Sloan wax brush and then wiping immediately with a clean, white cloth to seal and protect the chalk paint.

I'm totally in love with the finished product!

Supplies:
Annie Sloan Chalk Paint
Annie Sloan Soft Clear Wax
Annie Sloan Pure Bristle Brush
Annie Sloan Wax Brush
Painters Tape
Drop Cloth
Clean White Cloth

Video Tips & Techniques:
https://www.anniesloan.com/techniques

Here are the pieces that I practiced on before tackling my piano.